Sunday, July 1, 2012

Day 5 - Final Day at PSTI

Friday, June 29th, 2012
8:00am-9:00pm


The final day at PSTI consisted of a tour of the Johnson Space Center, time at Space Center Houston, a speech by a EVA Instructor, presentations of our week, and a celebration of success.

Our tour of Johnson Space Center was very exciting and we were able to see many pieces of history.

We started at the Mission Control Center.  This was different than the historic Mission Control Center we visited on Wednesday.  This was a rebuilt center used for Space Shuttle communication.


Next, we went to the Space Vehicle Mockup Facility (SVMF), where they train astronauts in the different vehicles.


We also saw a mockup of R2, the robonaut that I mentioned in a previous post:

(He's under the clear tarp in front of the golf cart looking vehicle)


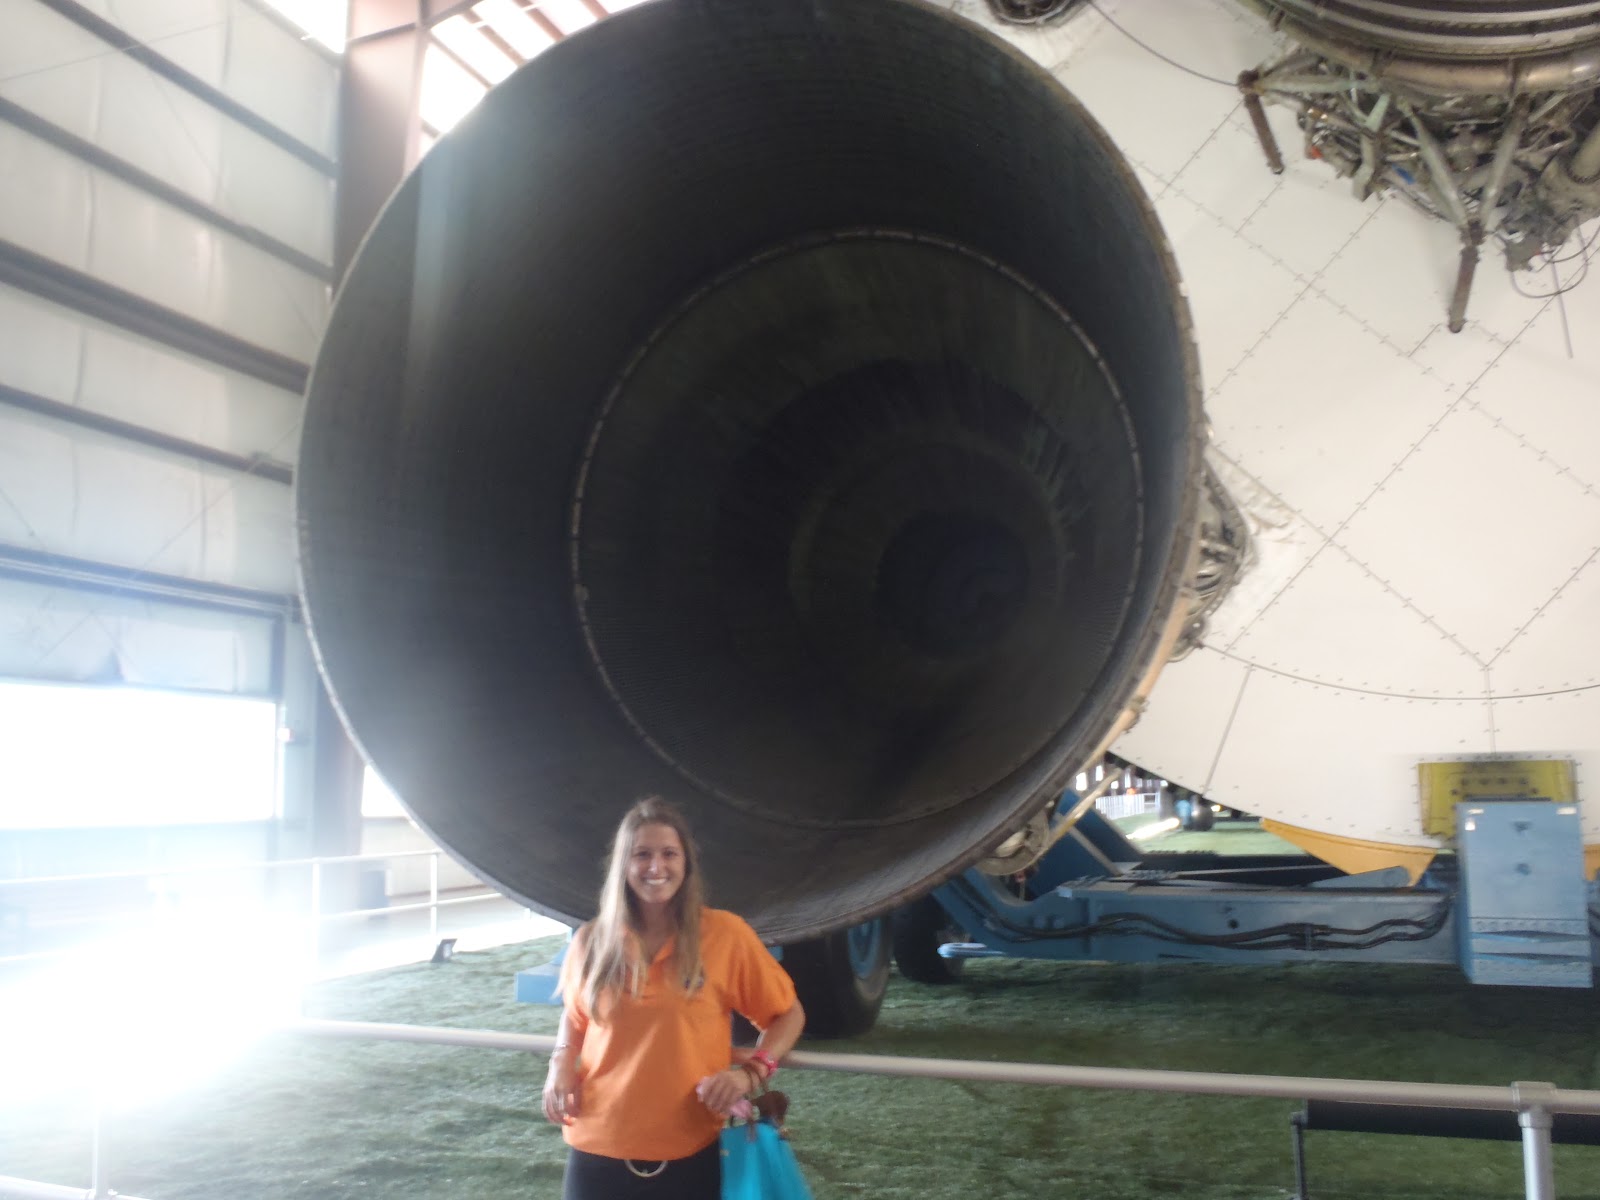
Next, we were able to visit rocket park and the Saturn V rocket:


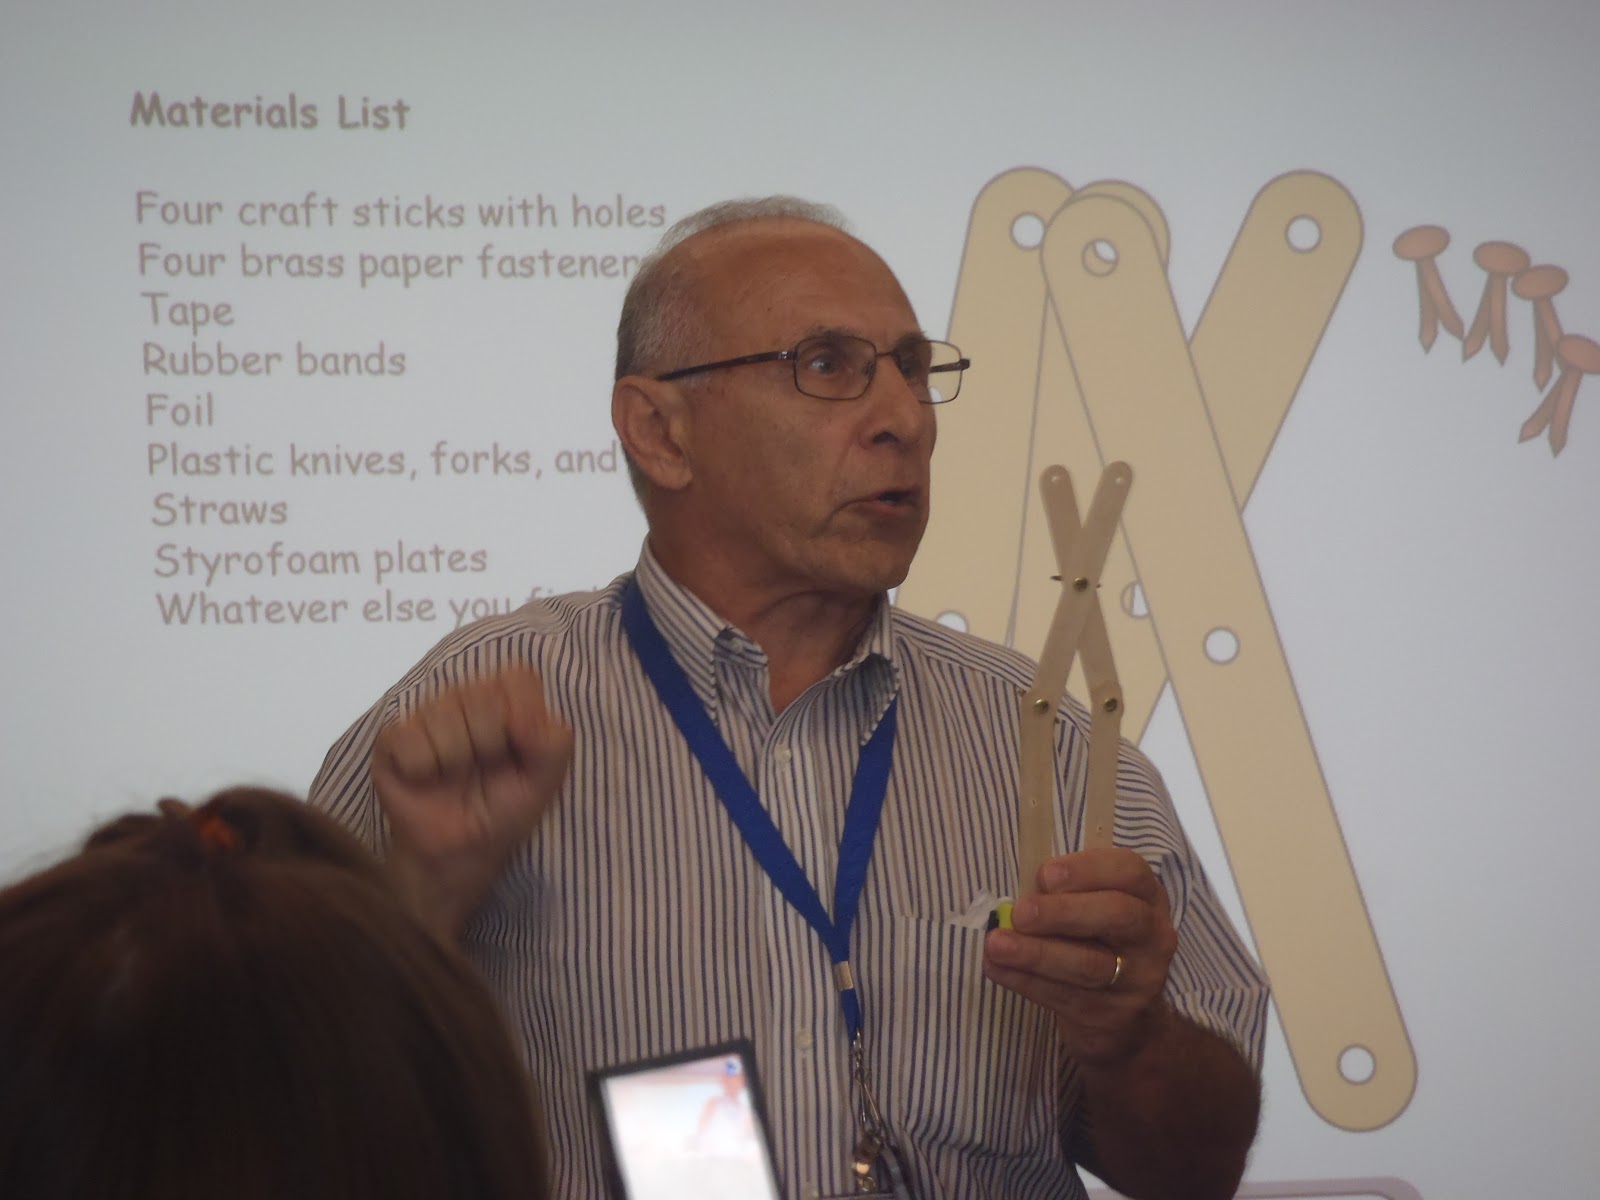
After our tour, we returned to our little classroom and learned about EVA Instruction from Allie Battocletti.  Allie has the very exciting job of training the astronauts to use tools in space in order to perform EVAs, or Extra Vehicular Activities.  This means that she has to work for years with the astronauts to teach them how to use instruments, such as screwdrivers, in space.  She then speaks with the astronauts during their mission to talk them through fixing any pieces of the ISS that are necessary.


After Allie's keynote speech, we had a celebration with cake, presents, and certificates!


And for the rest of the day and evening, we each presented our assignments from the week.  For the ending assignment, we were to create a presentation that summarized our week at PSTI.  The presentation will be shown to classmates at our respective schools to help spread the word of the program.

I used Windows Movie Maker to create my presentation.

Here is my presentation, and it should sum up my thoughts and feelings of spending the week at PSTI.  Overall, the time spent in Houston was an amazing learning experience that I will remember for a lifetime.  Best of all, it not only benefited me, but it benefited all of the students that I will come to teach during my career.


Friday, June 29, 2012

The Puzzling Piece Autism Awareness

After spending an amazing week at NASA's Johnson Space Center for the PSTI program and learning about all of the wonderful technological resources available to teachers, I made a goal to help my classroom in the fall with the purchase of an iPad.

I have seen SO many effective ways to make education more interesting and motivational through the use of an iPad, and I know that studies have shown the technology can be life-changing for students with autism.


I have involved myself in a program called The Puzzling Piece, through which my friends and family can purchase jewelry from their website to support autism.  After I sell 60 necklaces, The Puzzling Piece will provide my classroom with an iPad.

If you are interested in supporting this cause, click here.


Remember to put my FIRST and LAST name in the box where it asks for Challenger's Name.


Thank you so much in advance for the support of autism awareness, technology, and my classroom.  Please let me know if you purchase a piece so that I can keep you updated on our goal, as well as thank you personally for your support.

Thursday, June 28, 2012

Mission Geography and ISS EarthKAM Bingo

Thursday, June 28th, 2012
1:00pm - 2:00pm


Our professional development after lunch was on a topic called Mission Geography.  We received a disk full of activities for all grades about how to use NASA (such as space imaging) to teach geography.

I was very thankful for this resource because geography is definitely not one of my strong points.  I thought the activities were very interesting as well!


Activity: Pocket Solar System
This activity allows students to learn about the size of the solar system and the length between the planets.  To make this project, you only need a sheet of receipt paper and a writing utensil.  It involves folding and labeling, and really shows you how close together the first few planets are and how far away Pluto is.


Activity: Night Space Imaging Puzzle
For our first activity, we had to cut out pieces of a picture of the United Sates from space at night to make a puzzle.  The picture was only black and white, so we had to piece together the puzzle based on areas of high light (big cities), areas of jagged, large dark areas (oceans) and shapes of the states.

It involved a lot of higher-order thinking and taught us about geography and population.


Activity: Mars and Earth Process Match
Our second activity involved using our knowledge gained on Tuesday about land processes (impacts, mountains, etc) and we had to compare the processes between Earth and Mars.

This activity taught us about what processes are similar on the different planets and therefore how they both form.


Activity: ISS EarthKAM Bingo
For ISS EarthKam Bingo, each group received a bingo board which had pictures of Earth from a space craft, aircraft, or the ground.  The students must match the process and where the camera is to be able to cover that square.  For example, if the caller calls out 'Stadium, air' the students must find the picture of a stadium taken from an airplane.  This activity involves critical thinking to determine what each picture is of and where the picture is taken from.  This bingo builds spatial relationships and vocabulary.


FYI: NASA has two programs, the EarthKAM and the MoonKAM which you can use to view pictures of the Earth from the ISS and view pictures of the Moon, respectively.  This is a great way to view anywhere on Earth from space, and will be great for students who have lived in or have been to other places and would like to compare.  Students and teachers can also request specific pictures to be taken from space here. (Ps. KAM stands for Knowledge Aquired Middle School)


Some final topics we discussed during this presentation were:


  • What is a planet?  Based on the controversy between the reclassification of Pluto, NASA has gone to greater lengths to educate on what a planet actually is.  See that video here.
  • Dark Sky Network - Visit http://nightsky.jpl.nasa.gov/ to see the Night Sky website.  This site is highly recommended.  It has all the information you need to know about astronomy, all in one place.  This includes clubs that have events near your school (there is an 'International Observe the Moon Night' coming up near me in September), as well as lesson plans, activities, and representatives that will visit your school.
  • View the ISS from Earth - this was not discussed during this development, but one of our coordinators did mention it yesterday and I just remembered to add this in.  You can actually see the ISS (International Space Station) from Earth at night, a few times a month!  You can go online to this site to find out the exact date and time the ISS is available from your city, as well as for how long.  I was excited to find that the ISS will be visible for 3 minutes tonight from Johnson Space Center at 9:18pm! (By the way... I never thought I would be at the point in my life that I would be excited about something like this).

Robotics without Electronics

Thursday, June 28th, 2012
10:30am - 11:00am


The second topic we discussed with Mr. Casaburri was about robots: what they are, how they are used, rules incorporated with them, and how to build them.


Activity - Robot Arm Challenge:
In this challenge, we were given materials (jumbo craft sticks with holes and metal brads) and asked to make a robot arm.  We were told that the best arms would have a shoulder, elbow, and wrist.

My creativity wasn't really shining through today,


but other people had some great ideas!


Mr. Casaburri suggested continuing the lesson and making it more complicated by giving the students plastic forks, spoons, cups, etc to use and give them additional challenges such as 'How much material (e.g. plastic beads) can you pick up with your robot arm?


Activity - Robotic Finger:
This was a very simple activity thatwas only made out of a piece of paper (or cardstock) with a template, and a piece of string.
We rolled up the template (following the instructions printed on the page), taped the roll into a tube, cut out triangles (from the template), and added a piece of string that ran through the middle of the finger.


By pulling the string, we were able to bend the finger at the joints (the triangles that we cut out).

We could put multiple fingers together to make a hand!


Activity - I Want to Hold Your Hand:
This is a more complicated activity better for the older students.  We did not complete this activity personally due to time constraints, but we were able to see how it was made and view the hand up close to see how it works.

Making this hand involves cardboard, straws, string, and tape.


These hands and fingers are based on a robot, or robonaut (robot astronaut) named R2 (yes, this is real) who is working at the International Space Center now.
I did not know about R2 until I began researching for my PSTI week, and I found it so interesting. I feel like some of this information has been hidden from me, even though I know I just didn't show an interest in it before!

This is R2:

R2 20 pound weight, Robonaut

To find out more information about R2, click here.

Rockets Education Guide - Foam Rockets

Thursday, June 28th, 2012
8:00am - 9:00am

All of our Thursday professional development work was done with Mr. Angelo Casaburri, a NASA Aerospace Educational Specialist.  Mr. Casaburri knows 'a little bit about everything' and was happy to share his knowledge with us.  He was also extremely comedic, and kept us engaged and interested throughout the day.

For the first hour, we focused on a lesson called Rockets Educator Guide, in which we built foam rockets.  This guide is extremely useful, with many activities to teach about rockets, history about rockets, and wonderful graphics.  It is also important to note that all of NASA Curriculum Material is public domain, which means the link above was made for YOU to use in your classroom, for free.

Activity - Foam Rocket:
The activity that we started with from this guide was the creation of a foam rocket, made from polyurethane foam (found at any home improvement stores in the plumbing section... very cheap.  I have used this same foam as a cheap base for wreaths!)

The rocket we created is based off of the finger rocket found in toy stores and museum gift shops all over the world:


The foam rocket was extremely easy to make.  Basically, each student receives a rocket body of 12" of polyurethane foam, a template for the fins, a rubber band, and duct tape.  The student cuts out the fins, slides them into slots in the foam (which they must cut), and support it with tape.  They also must duct tape the rubber band to the end using duct tape.


To incorporate mathematics into the project, students use their rockets to measure the angle at which they launch the rocket compared to the distance the rocket flies.  The data is collected in a data sheet (which is included in the packet).


Activity - Pop! Rocket Launcher
We didn't complete this activity together, but Mr. Casaburri did have an example which he showed us in the classroom.  In this rocket launcher, you connect a path of pvc pipe which has an empty 2-liter soda bottle on one end and the rocket on the other.  When you stomp on the empty soda bottle, enough air pressure runs through the pvc pipe (1/2") to shoot off the rocket.


This final activity the speaker talked about (though we did not complete) was called 3... 2... 1... PUFF! In this activity, students create small rockets out of paper, pencils, and PVC pipe. 


I really enjoyed these activities because they are guaranteed to teach students in an authentic way and keep them interested in science and math.  In my senior internship, the boys in the class were absolutely obsessed with making and flying paper airplanes, and I have seen this will all ages.  What elementary school boy DOESN'T like making paper airplanes?!  By introducing rockets and allowing students to make and fly something while they are learning, the material will be enjoyed more and the students will remember the material later on.


To sign up for NASA e-mails to receive weekly updates on new educational materials, resources, and events, visit their website at:
http://www.nasa.gov -> For Educators -> (Right hand side of page) Express Email -> Enter Email -> Submit